What you need
- Chip
- Apple Silicon (M1 or later)
There is no Intel Mac build yet. - Operating system
- macOS 14.2 or later
- Memory
- 8 GB minimum, 16 GB recommended
- Installer
- A .dmg file of about 9 MB
We email you a download link when you sign up for the beta on the Download page - Disk space
- 1.3 GB (Lite pack) or 2.5 GB (Standard pack)
Plus 1 GB free while downloading the model - Internet
- Needed to download the model and register the Free trial
After that, recognition and translation run offline
The Windows version is not released yet.
This guide covers macOS only. There is no Windows release date yet.
Install and open the app
- Open the
.dmgfile and drag AI Translator into the Applications folder. - Open AI Translator. macOS blocks the first launch because the current build is ad-hoc signed and not yet notarized by Apple. Click Done.
- Go to System Settings › Privacy & Security, scroll to the bottom, click Open Anyway next to AI Translator, then confirm with your password or Touch ID.
For the details, including how to check the installer's SHA-256, see the guide to installing AI Translator on macOS.
First-time setup in seven steps
On first launch the app shows a setup wizard of 9 screens (the top line reads “Step 1 of 9”). This guide groups them into seven steps. Every screen has Back and Next buttons.
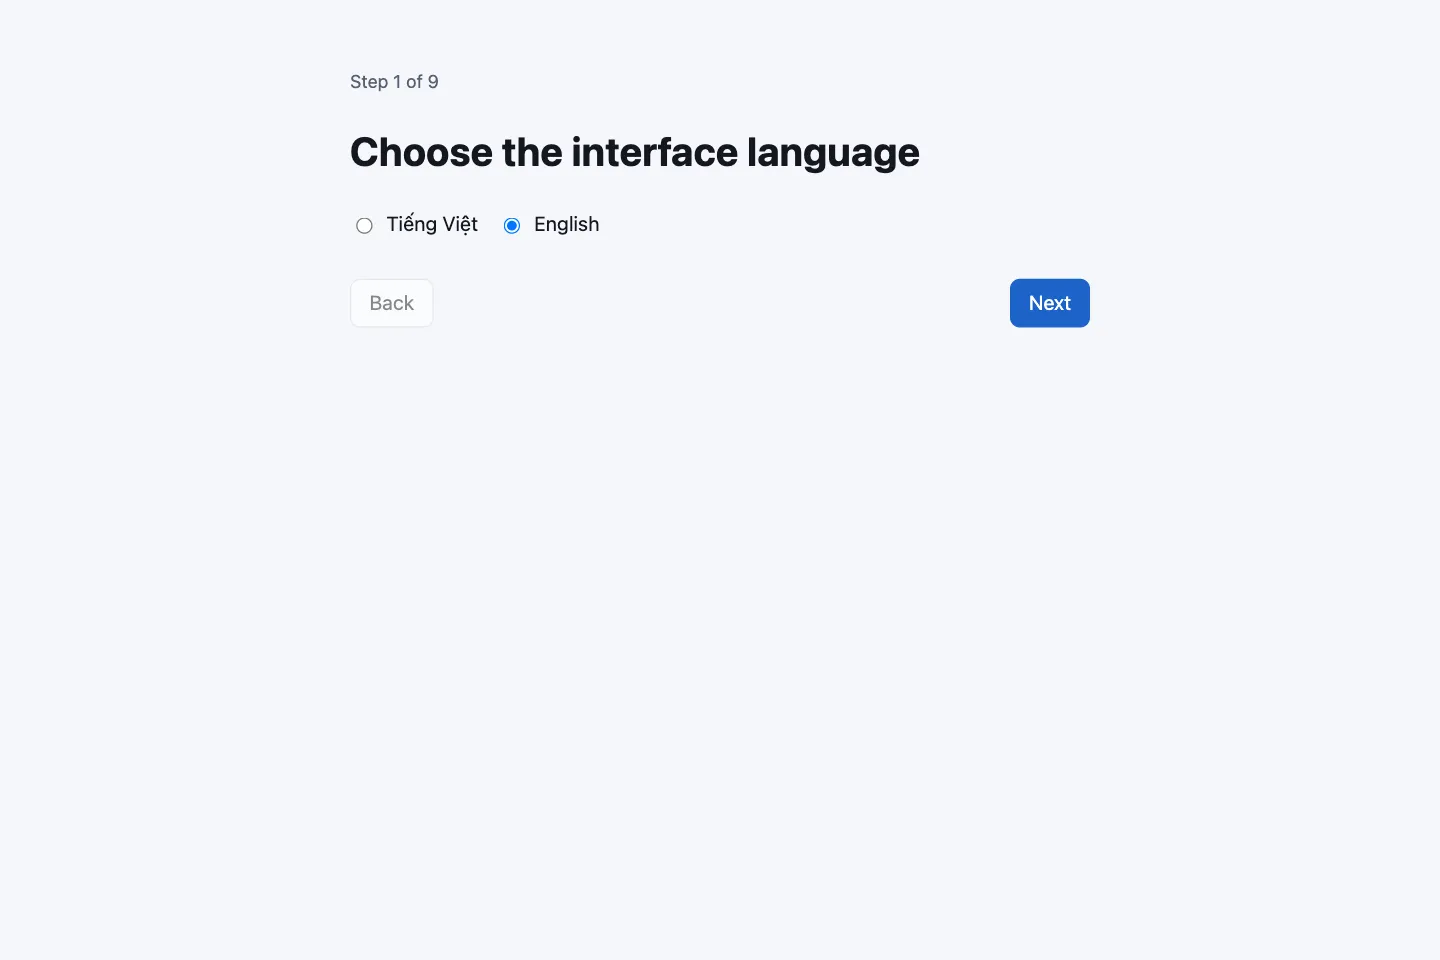
Step 1. Choose the interface language
Choose Tiếng Việt or English and click Next. This also sets the language you read subtitles in; you can change it again in step 5.
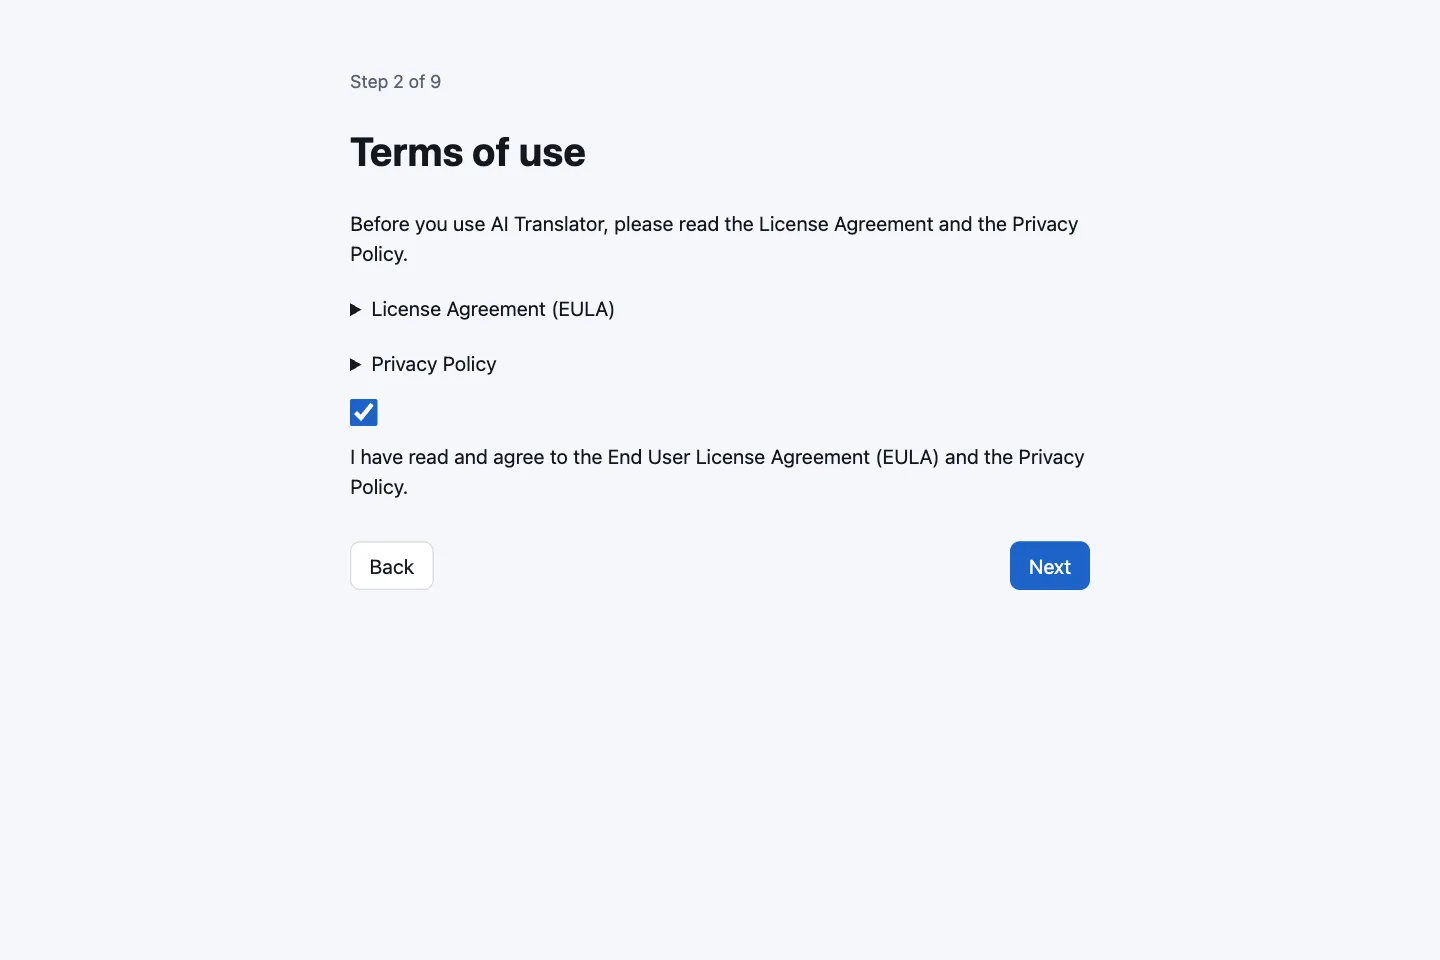
Step 2. Accept the terms
Read the License Agreement (EULA) and the Privacy Policy, then tick “I have read and agree…”. Until you do, Next stays disabled. When you click Next, the app registers your Mac's Free trial with the server, so you need an internet connection once.
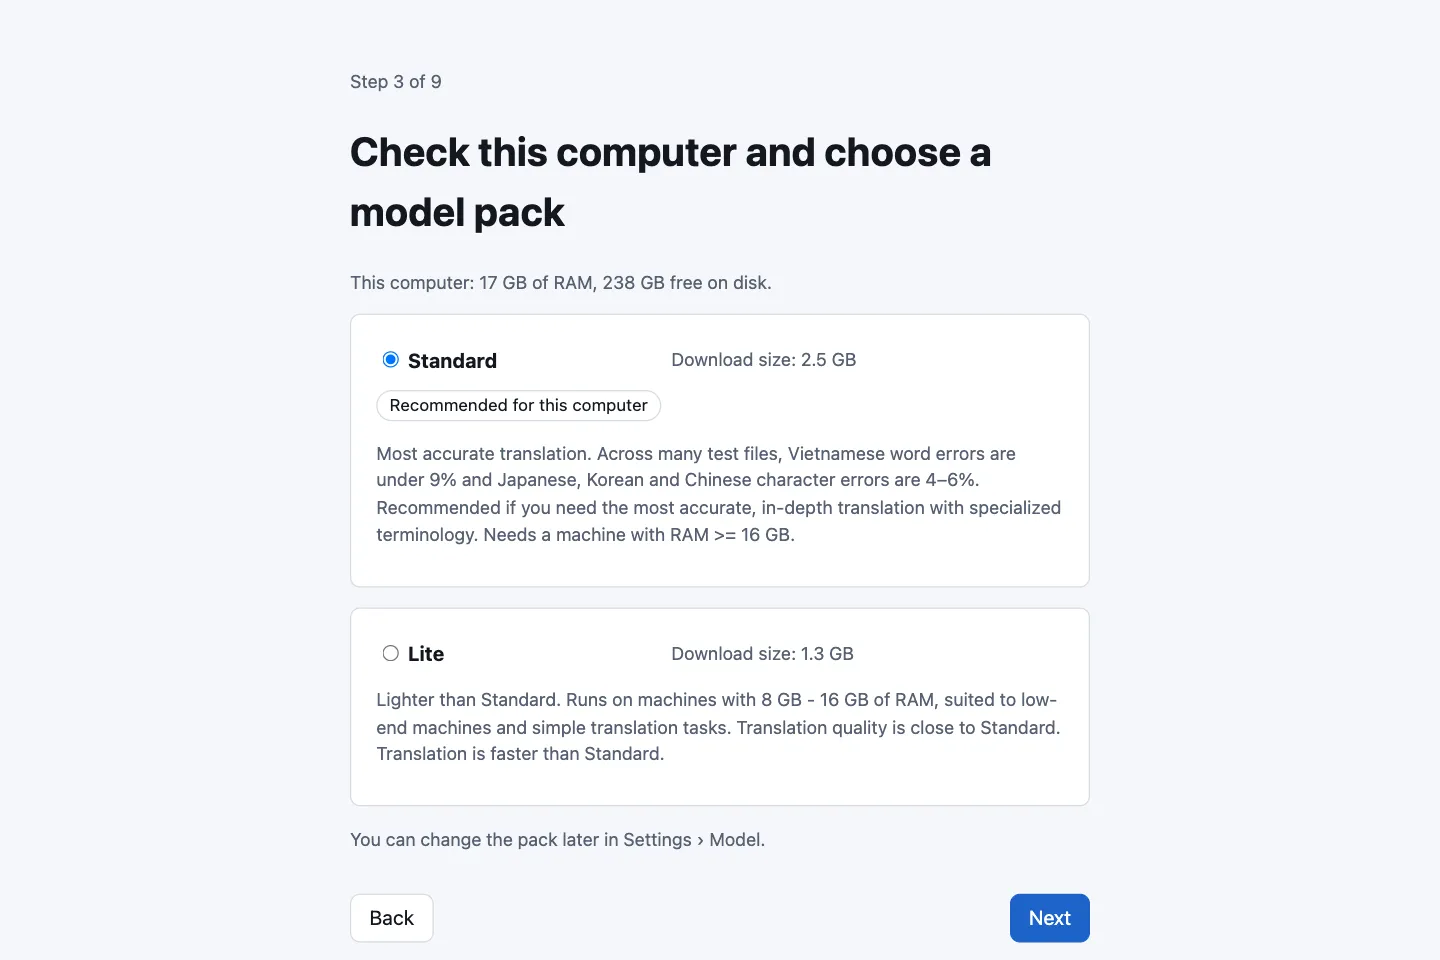
Step 3. Choose and download a model
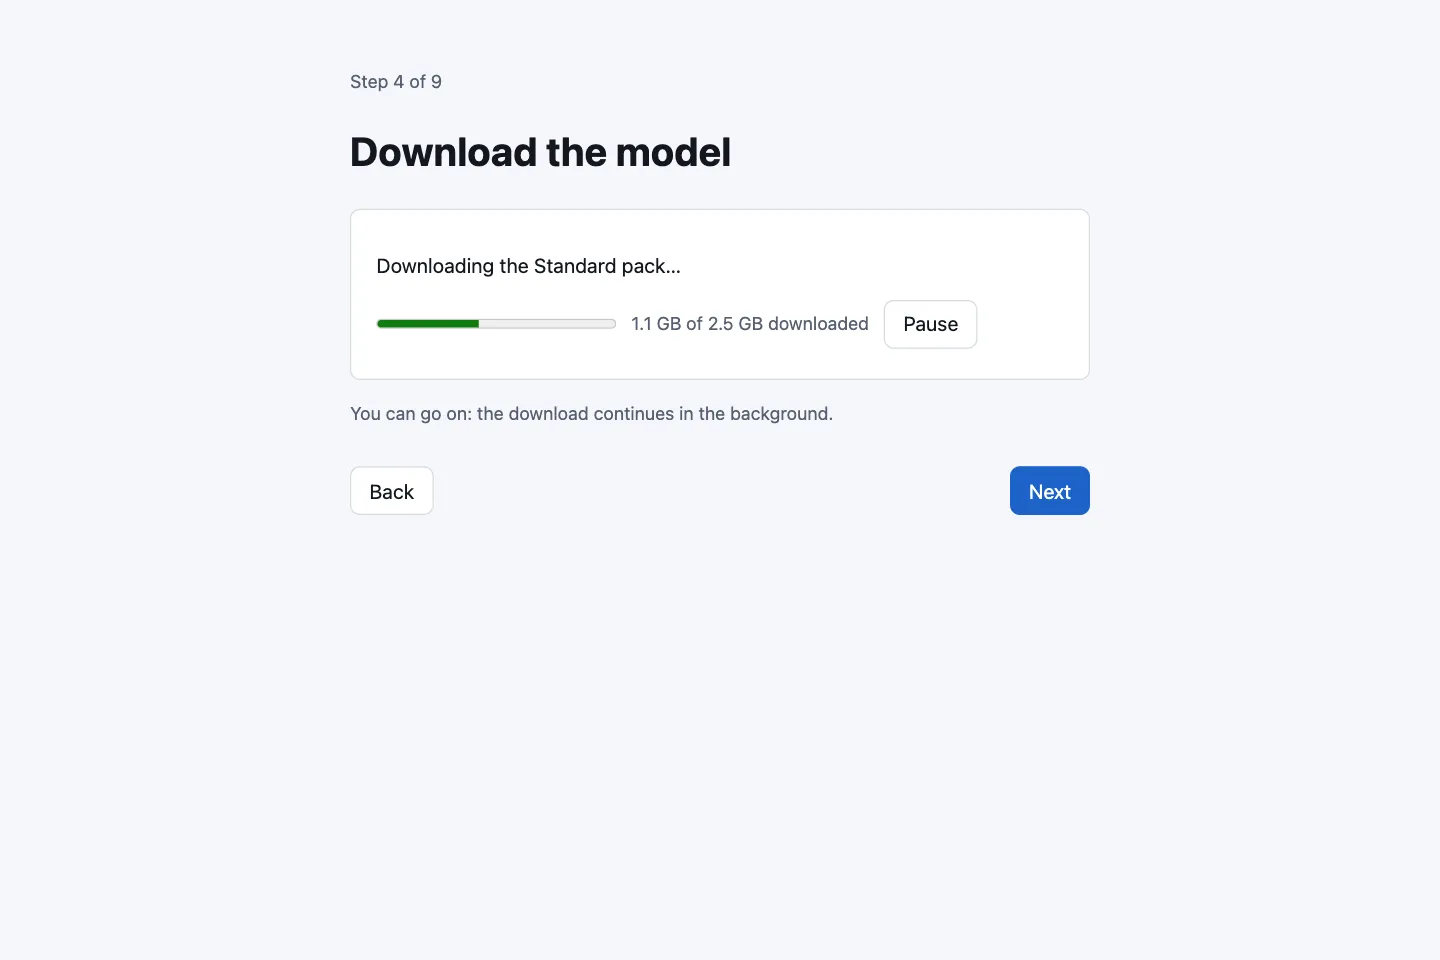
The app shows your memory and free disk space and recommends a pack: a Mac with about 16 GB of RAM or more gets the Standard pack (about 2.5 GB), any other Mac gets the Lite pack (about 1.3 GB). Choose a pack and the next screen downloads it, with Pause and Resume buttons. You can click Next while it downloads; the model keeps downloading in the background. When it finishes, the app says “Download complete. AI Translator is ready to translate.”
Step 4. Allow system audio recording
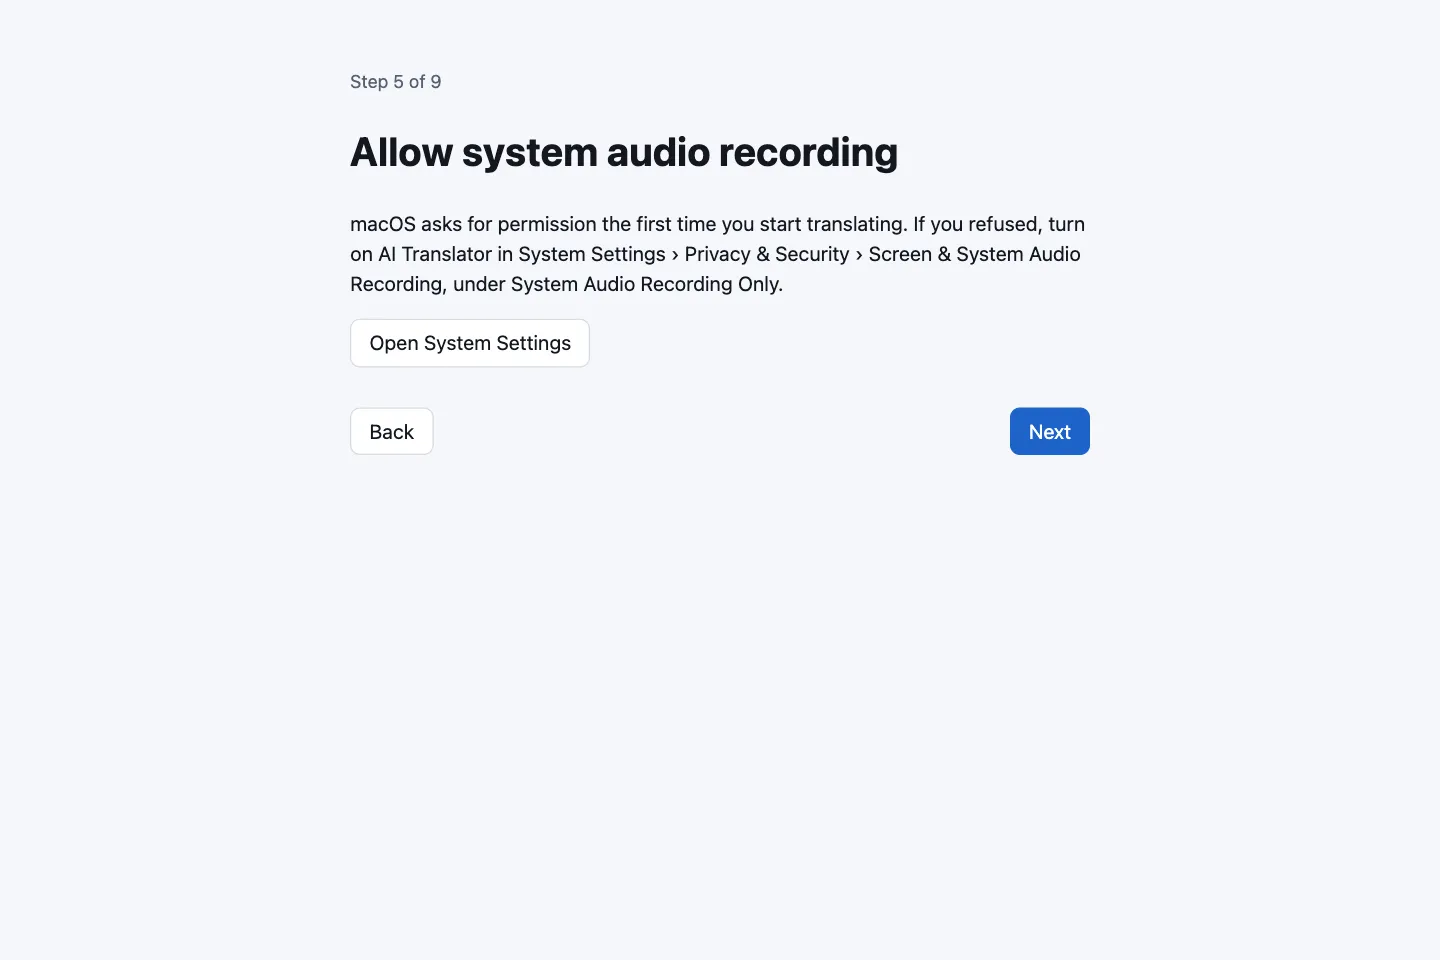
macOS asks for System Audio Recording permission the first time AI Translator captures audio. This screen only warns you in advance: the macOS prompt appears at the Try it step below or the first time you click Start. Allow it. If you refused by mistake, the Open System Settings button on this screen takes you to the right place. The app does not use the microphone. More in granting system audio recording permission.
Step 5. Choose your languages
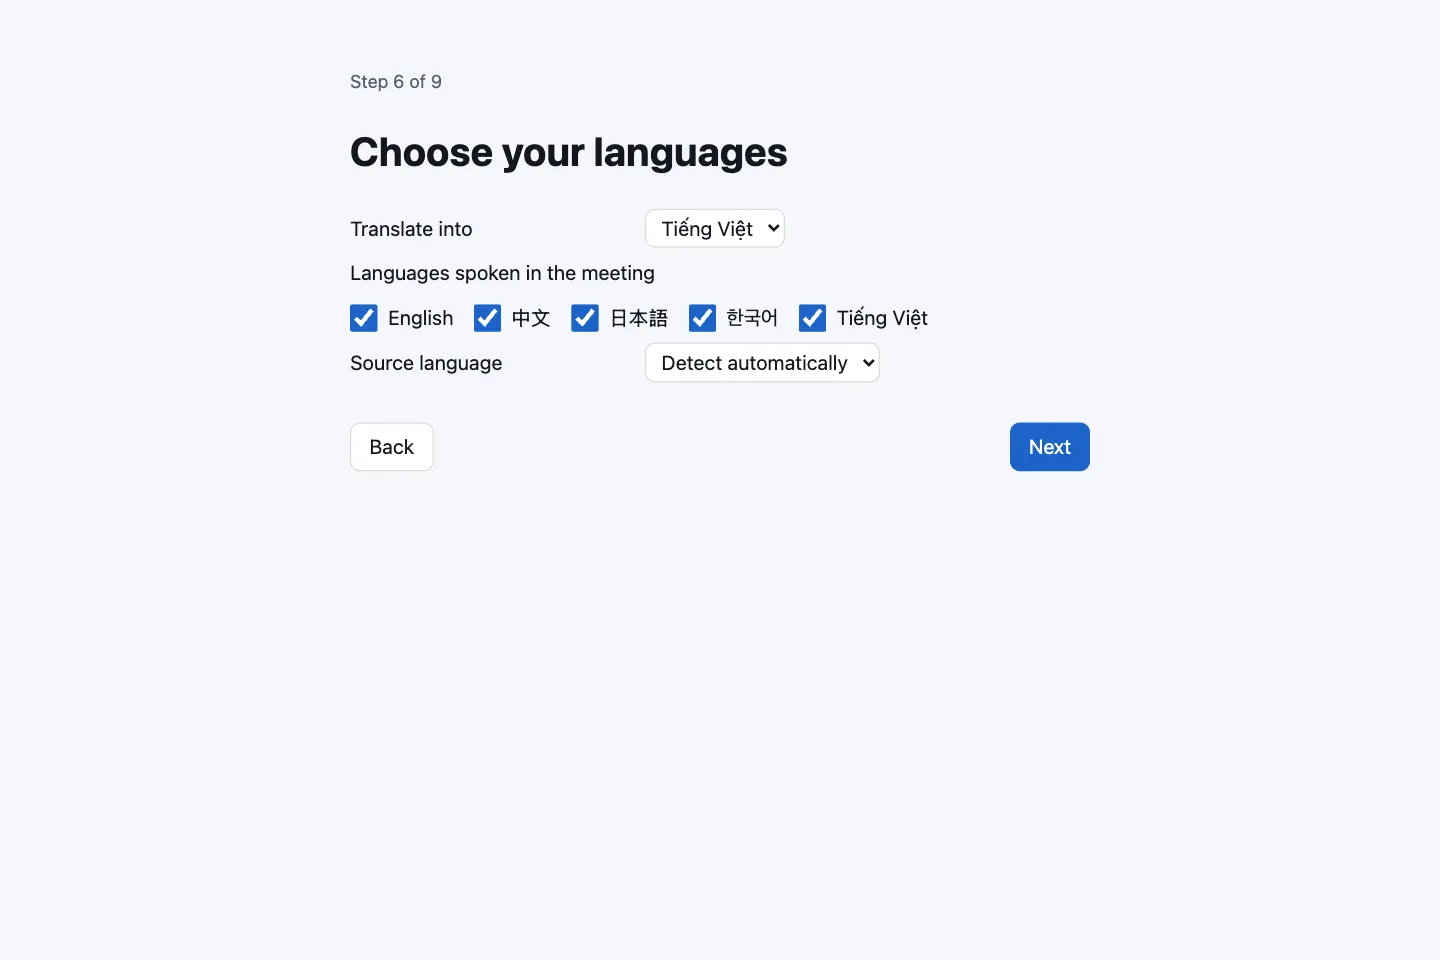
In Translate into, pick the language you want to read. Tick the languages that may be spoken in the meeting (all five by default). Leave Source language on “Detect automatically”, or lock one language if you know the meeting uses only that one.
Step 6. Try it
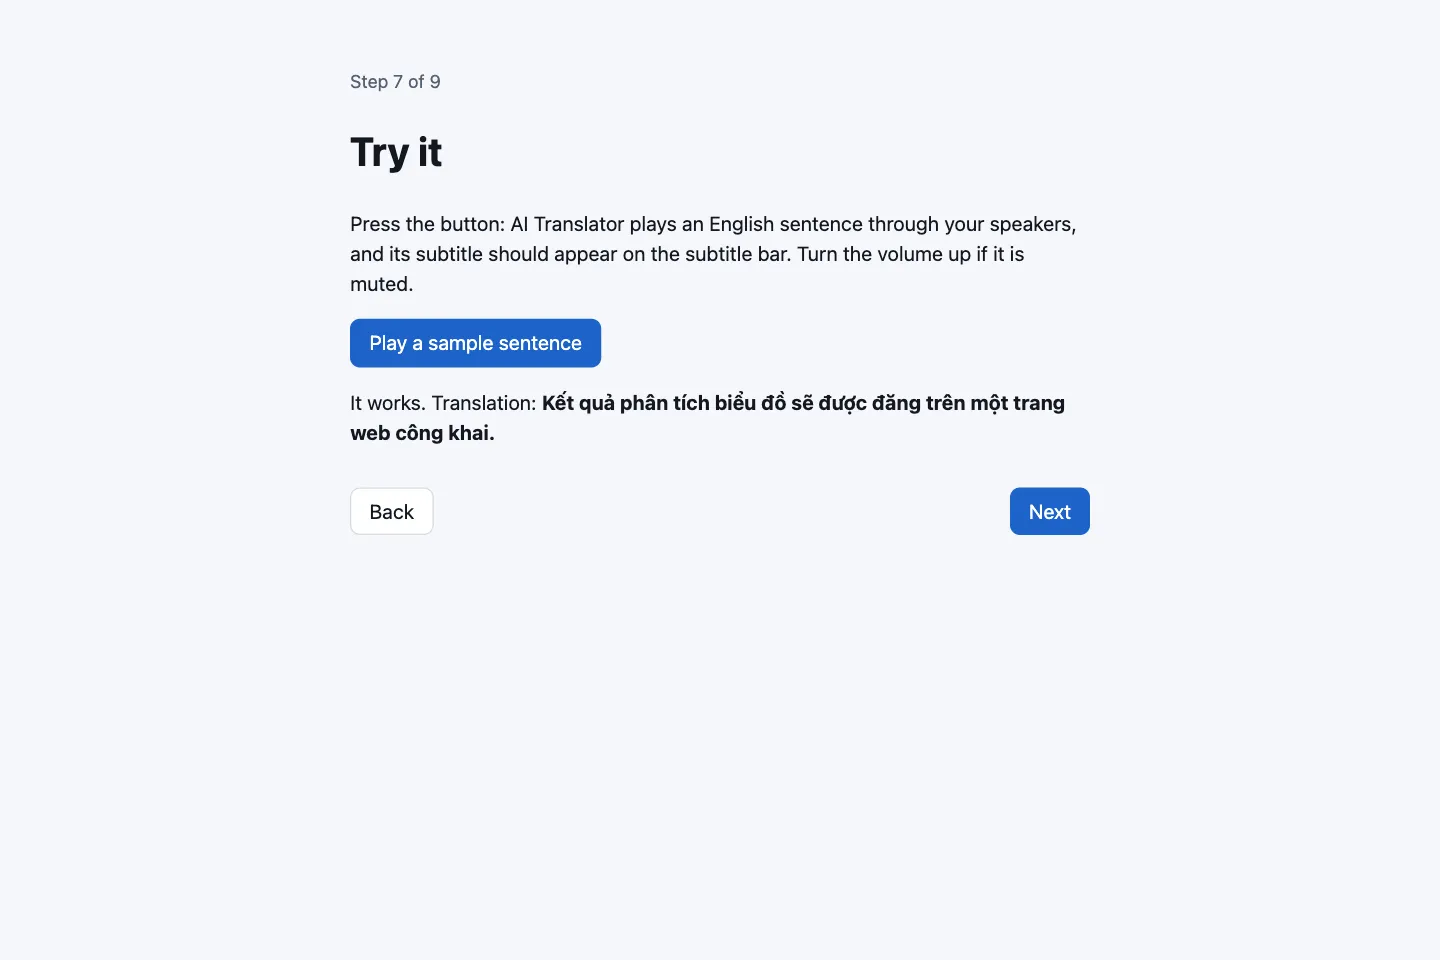
Click Play a sample sentence. The app plays an English sentence through your speakers, its subtitle appears on the subtitle bar, and this screen reads “It works. Translation: …”. Turn the volume up if your Mac is muted. If macOS asks for the audio recording permission now, allow it.
Step 7. Read the notes and finish
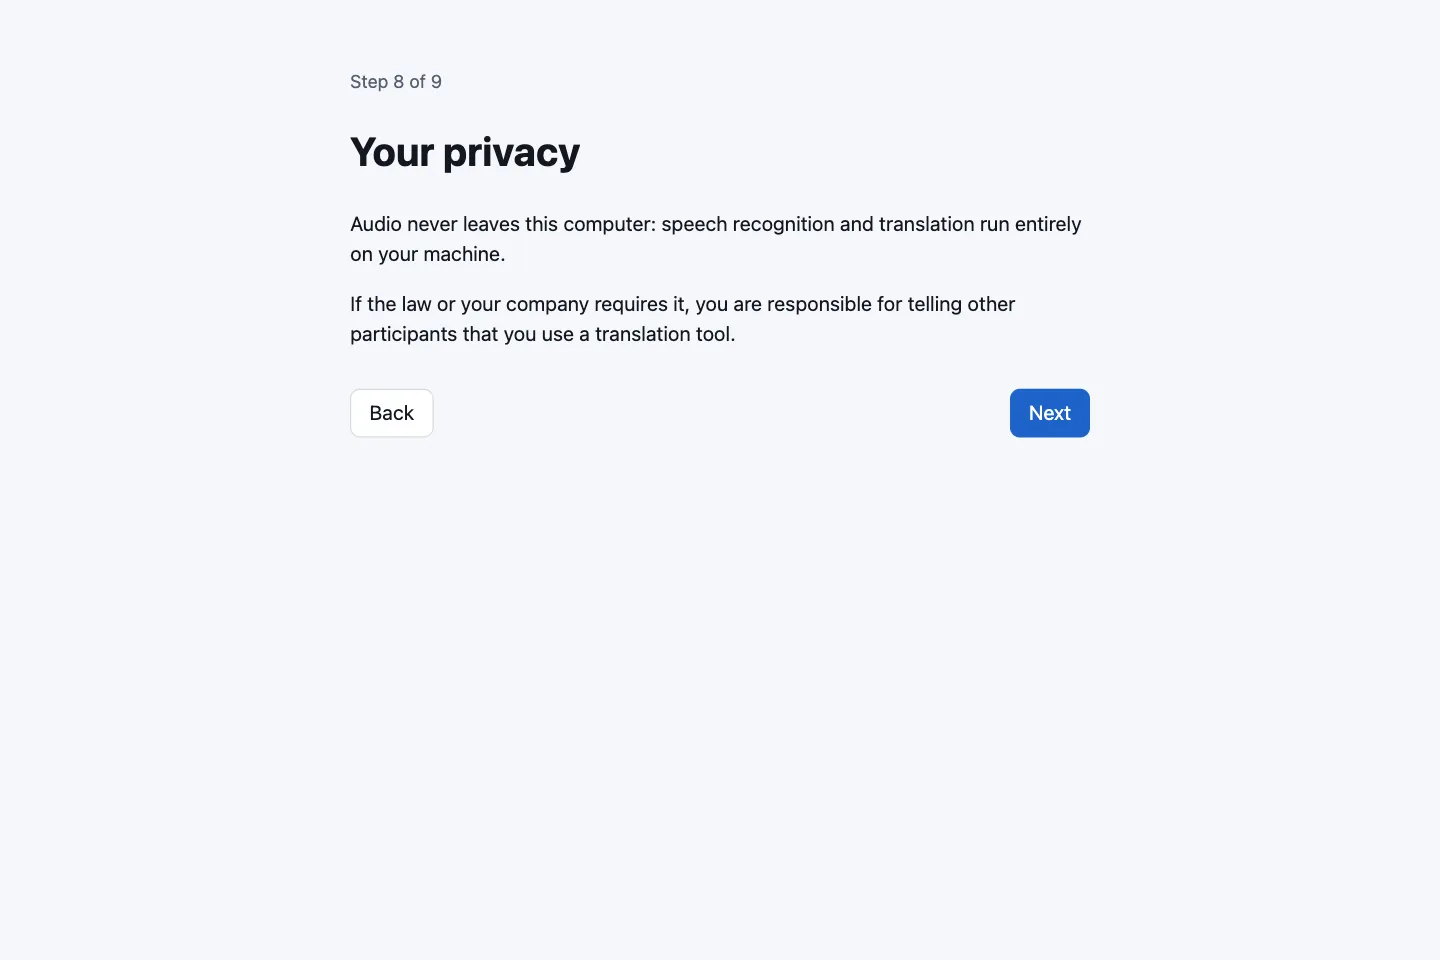
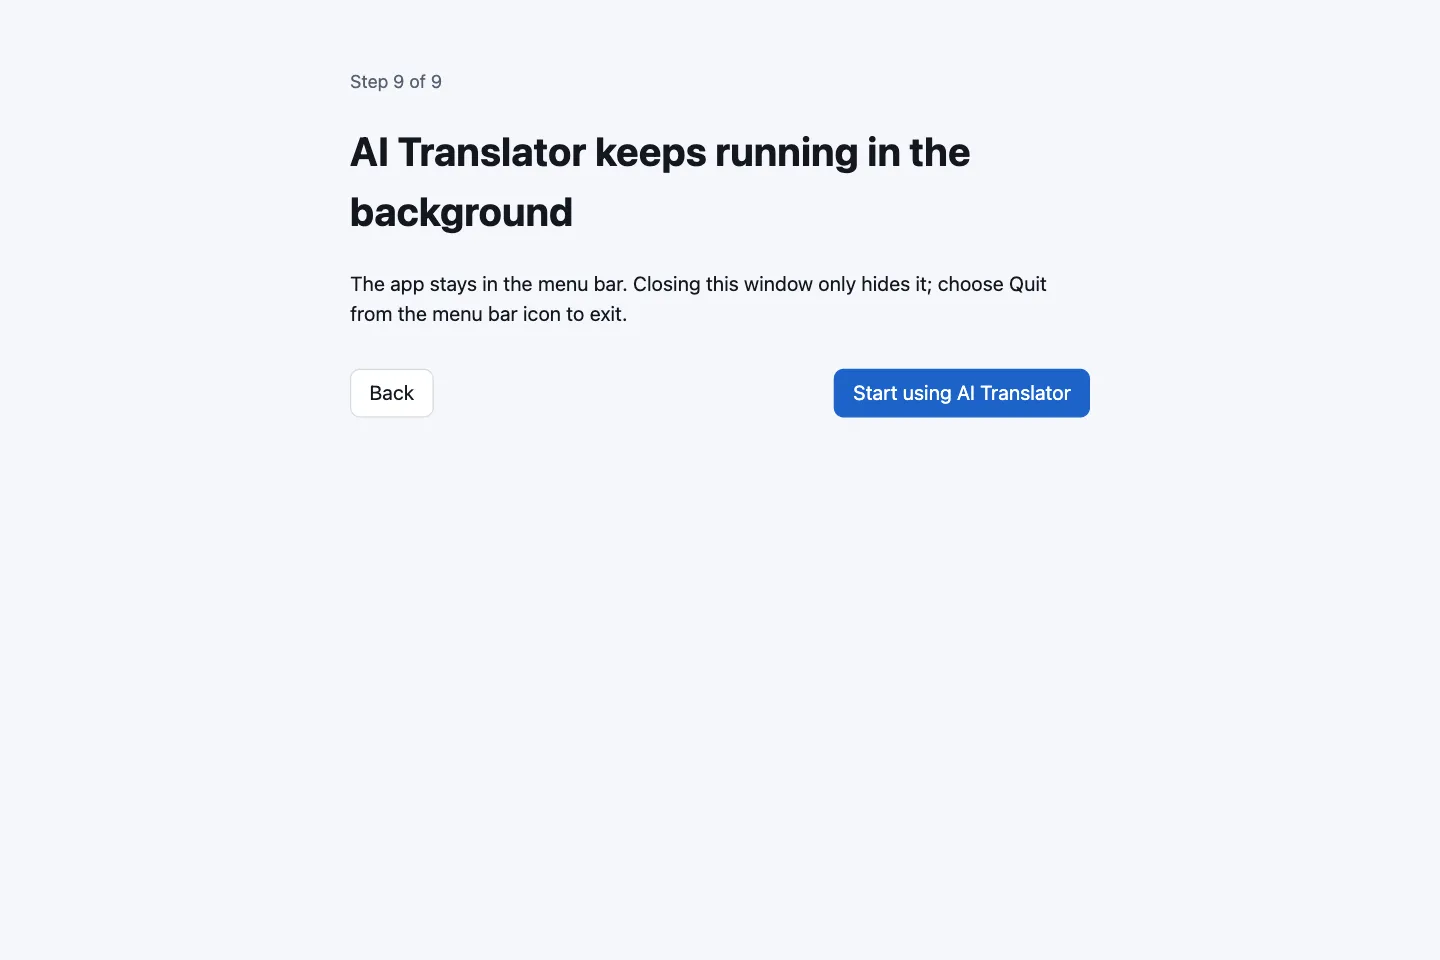
Audio never leaves your Mac. If the law or your company requires it, you are responsible for telling other participants that you use a translation tool. Closing the window only hides the app in the menu bar. Click Start using AI Translator to reach the main screen.
Translate your first meeting
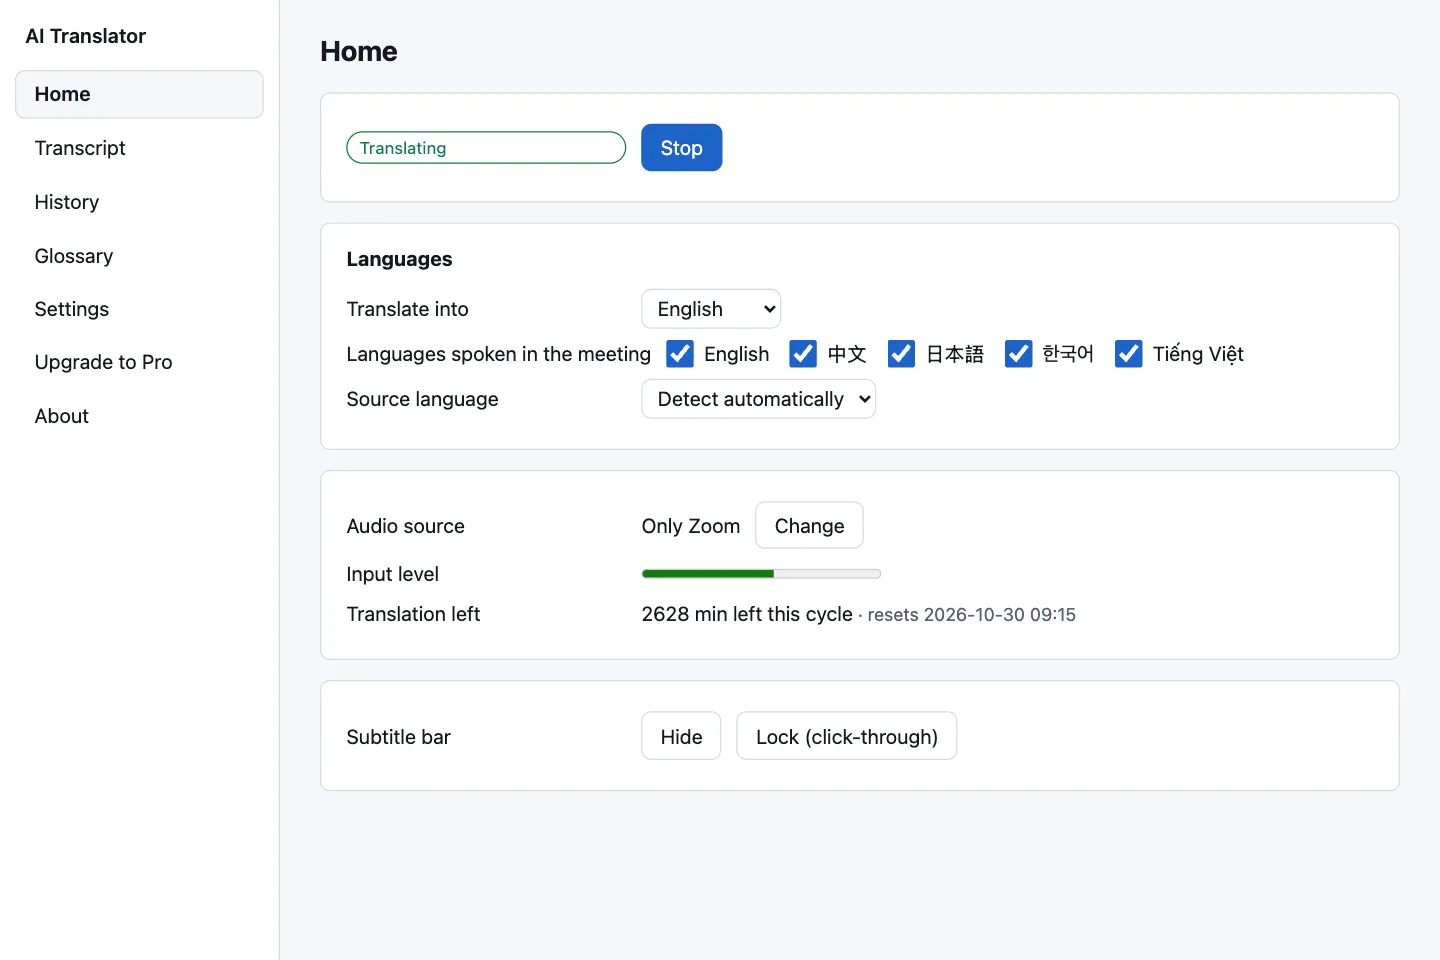
- On the main screen, check “Translate into” and “Languages spoken in the meeting” in the Languages card.
- The Audio source card defaults to “Whole system, except this app”. To translate just one app, click Change.
- Open a meeting or a video with sound and click Start (or press ⌃ + ⌥ + T). The status goes from “Starting” to “Translating”; for the first few seconds the bar may read “Loading models…”.
- Read the subtitles on the floating bar. A small dot in the top-right corner of the bar turns green when sound arrives, and the “Input level” bar on the main screen moves with it; a lighter line is a provisional subtitle that will be replaced by the finished sentence.
- Click Stop when you are done. The bar keeps its last lines so you can finish reading, and Open the transcript appears, showing time, original text and translation. Copy all works on every plan.
How to drag, lock, hide and restyle the bar is covered in the subtitle bar and shortcuts guide. The Free plan gives you 30 minutes of translation a day during the 10-day trial.

Common first-run problems
- macOS will not open the app. Do the Open Anyway step above; details in the installation guide.
- No subtitles, and the main screen says “Nothing is heard although an app is playing sound…”. macOS has not allowed system audio recording; see the permission guide.
- The sample sentence shows no subtitle. Check that your speakers are not muted and try again.
- The model download stops halfway. Click Resume to continue from where it stopped.
- You cannot see the subtitle bar. It may be hidden: click Show in the Subtitle bar card, or press ⌃ + ⌥ + H.
- The first run takes a while. After an install or update the app may say “Preparing for first use. This can take a few minutes.”
Other problems are covered in troubleshooting.